

Overview
The Widget simplifies the process of integrating a chat functionality on your website. As a developer, you only need to toggle the widget’s settings from our Dashboard and customize it to fit your needs. Within a few minutes, you can get started with our widget. The Chat Widget is available for the following platforms:- HTML / Bootstrap / jQuery
- WordPress
Prerequisite
- Login to CometChat Dashboard and select your app.
- Click on the Chats tab, then select Widgets from the left navigation pane.
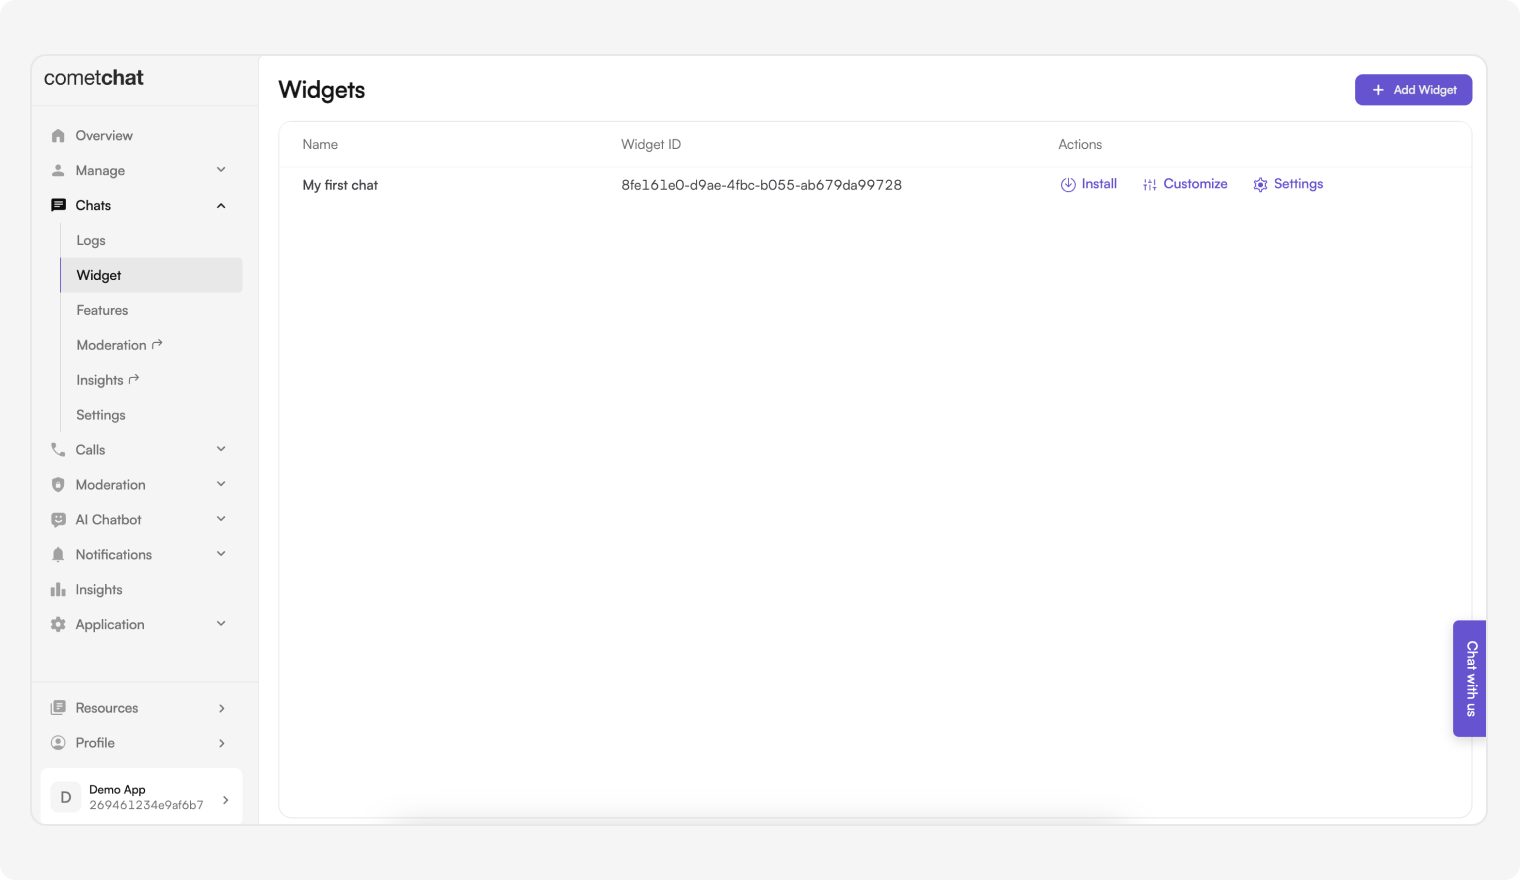
- You can create new widgets as well as see a list of existing ones here.
Features of Widget
WordPress / BuddyPress
Before getting started
Go through the overview to set up Chat Widget from the CometChat Dashboard.Installation
- Download the CometChat Pro plugin.
- In WordPress Admin, go to Plugins → Add New.
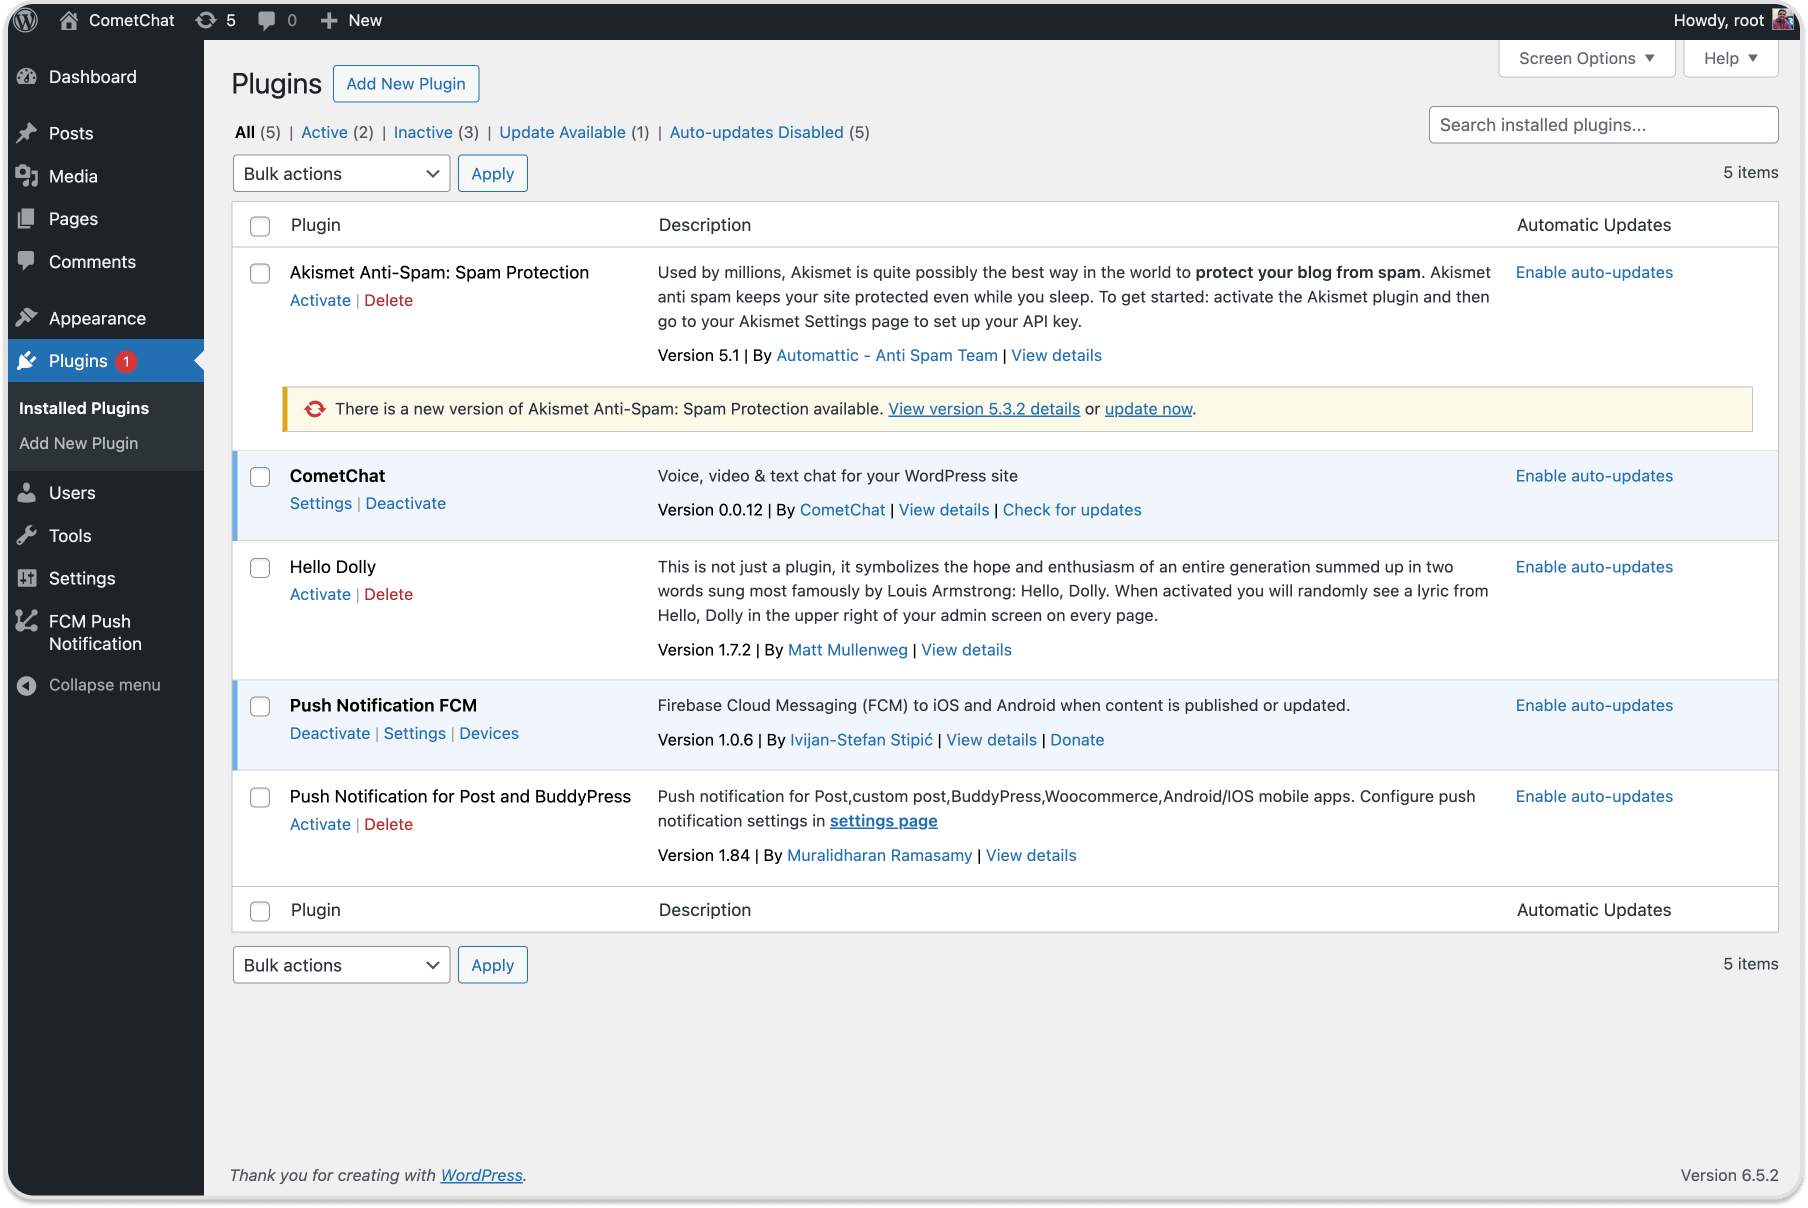
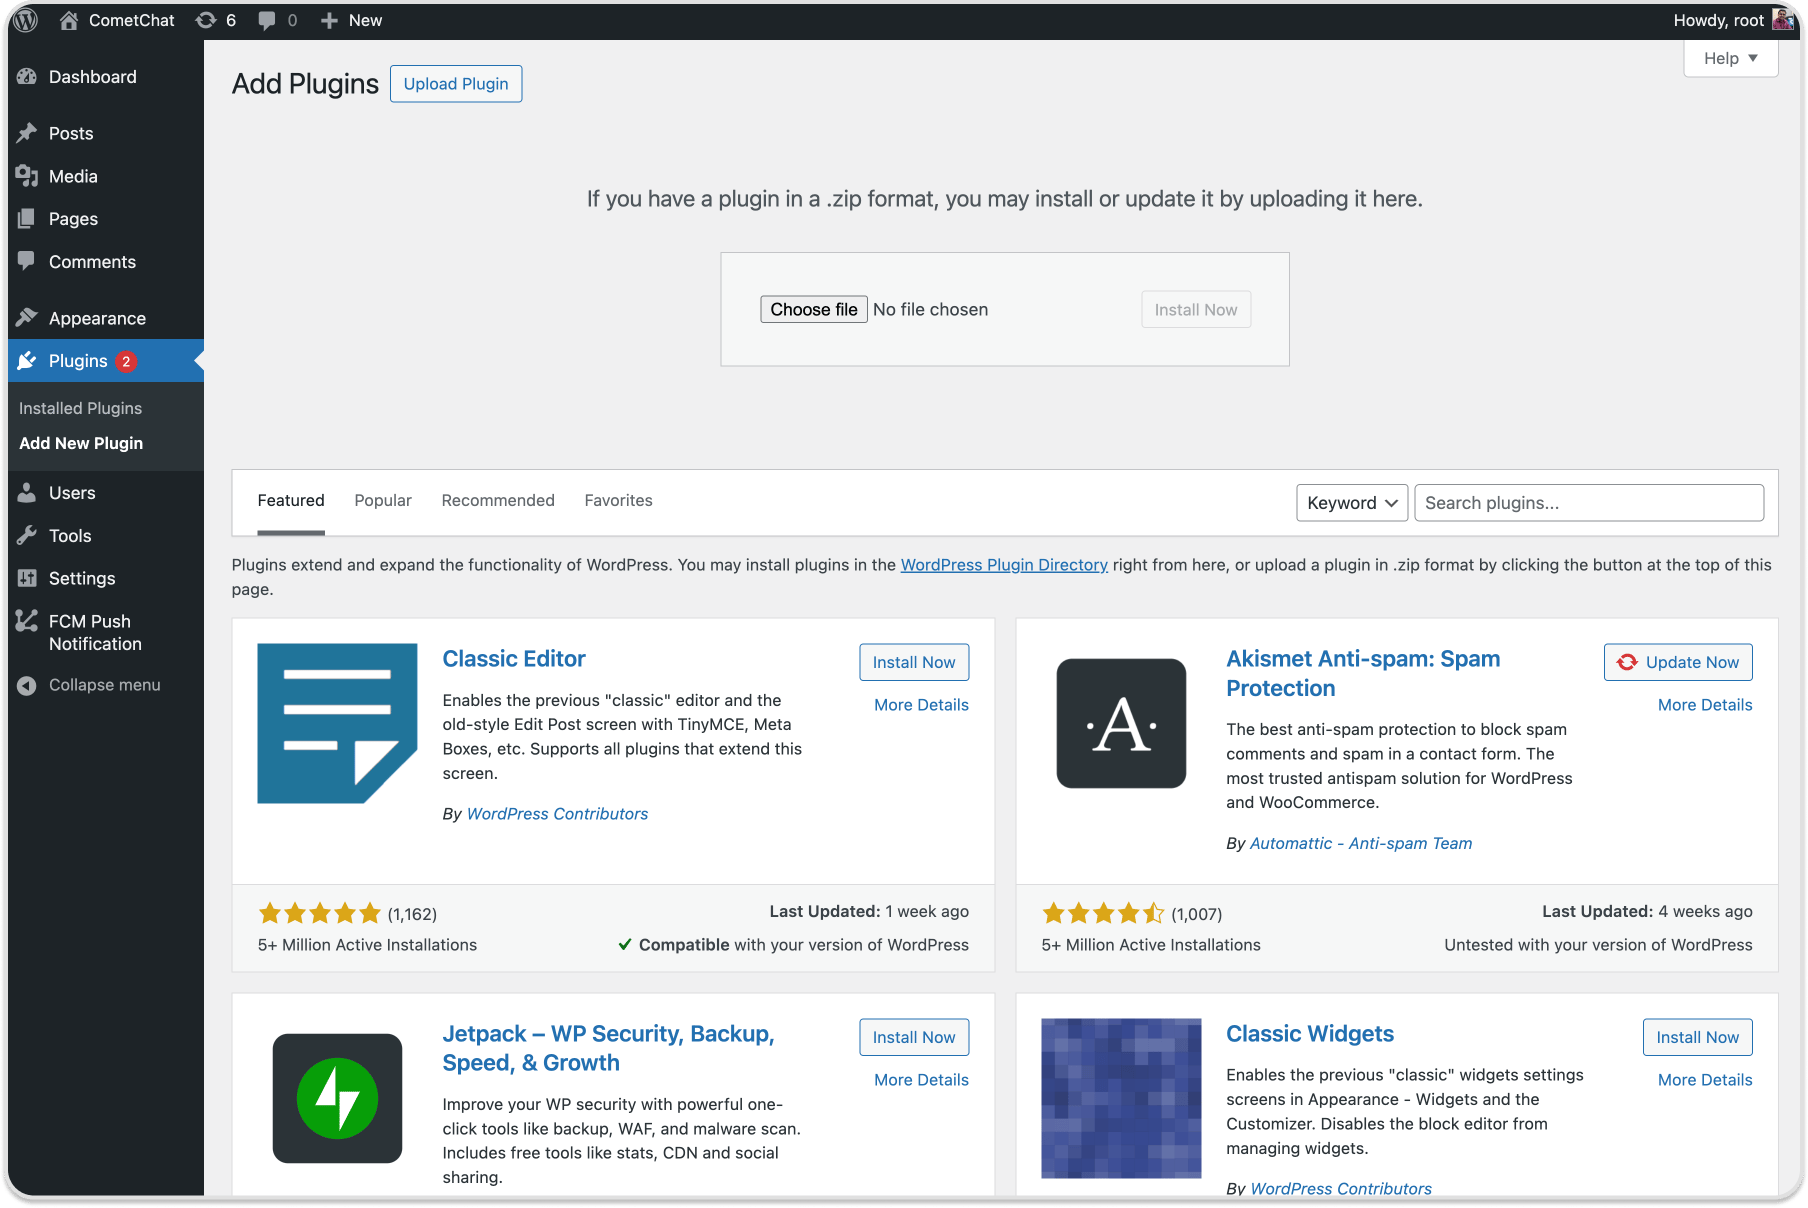
- Click Upload Plugin, choose the zip, then click Install Now.
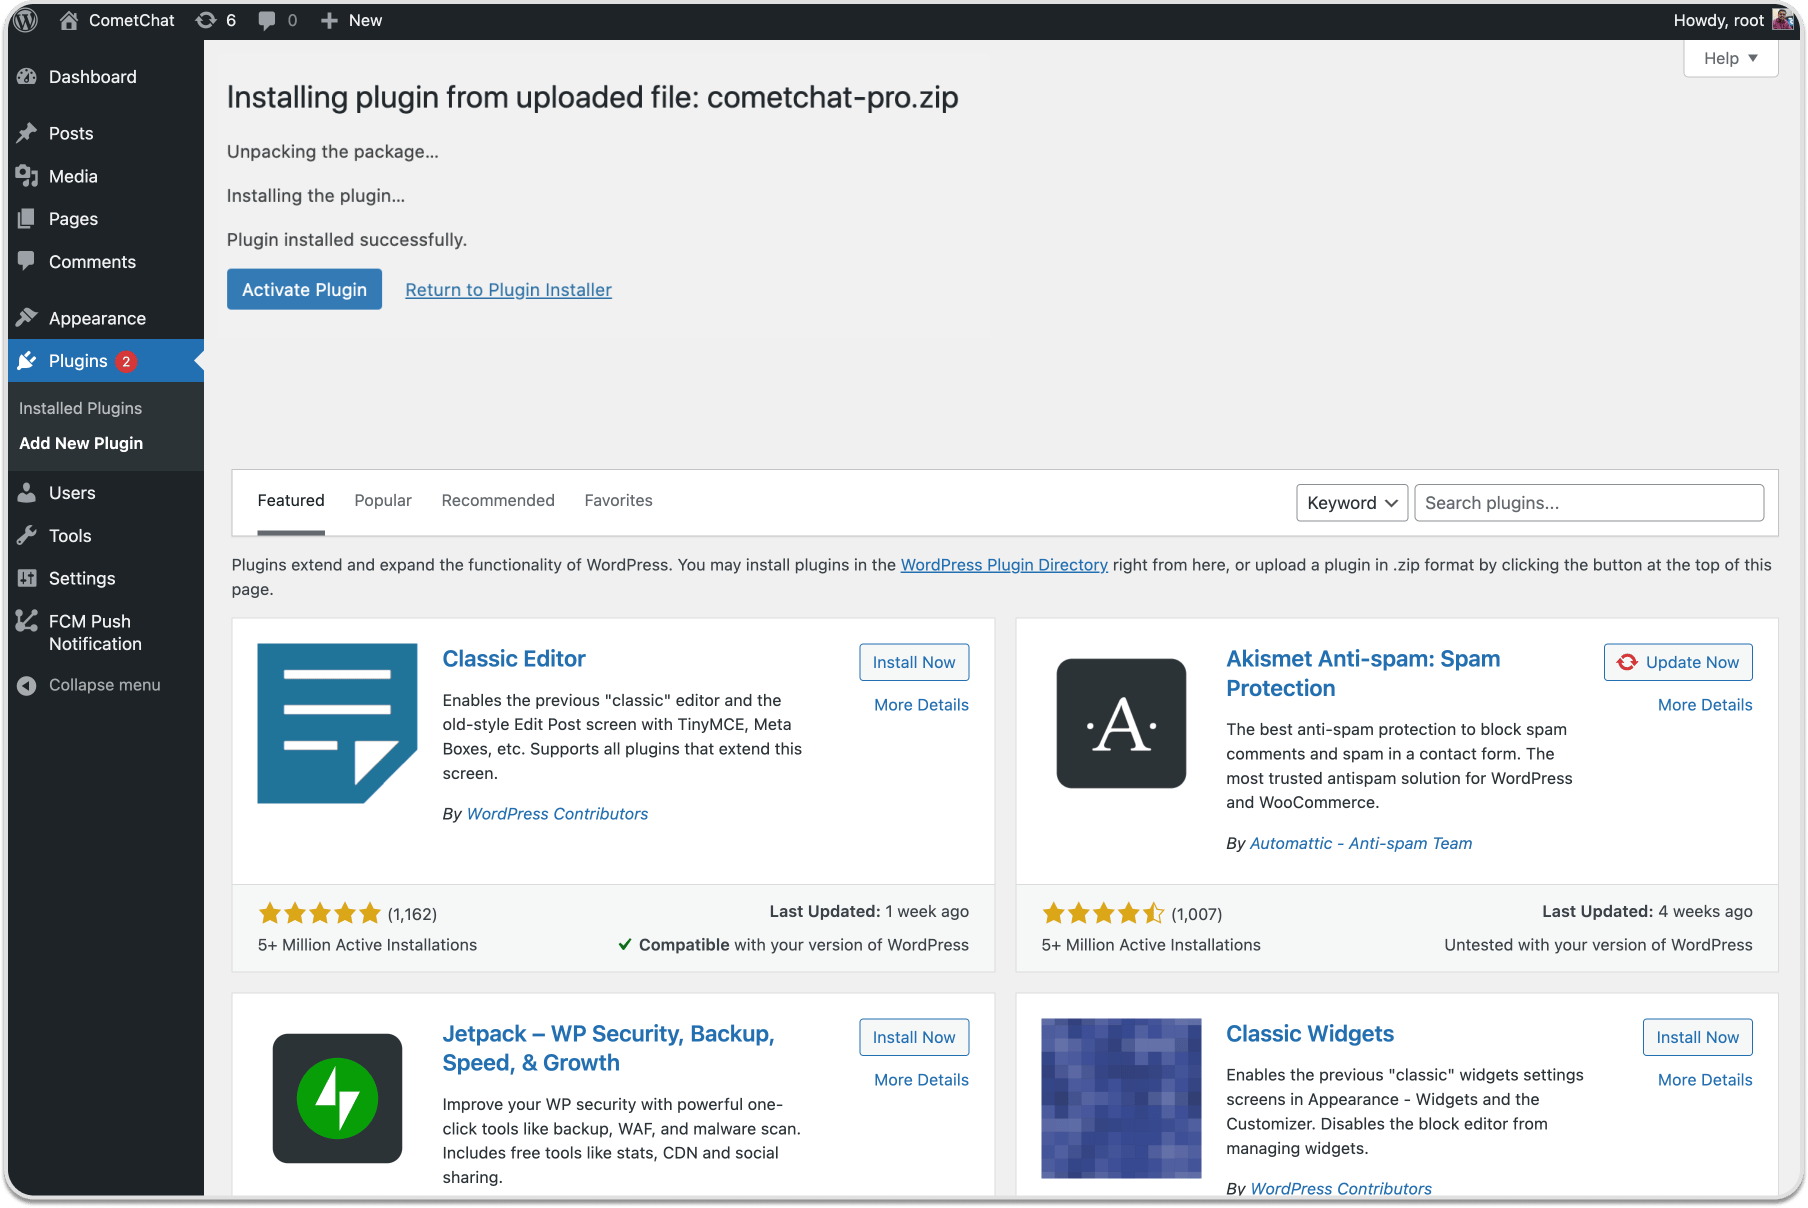
- After upload completes, click Activate Plugin.
Configuration
- Get App ID, Region, REST API Key, and Auth Key from CometChat Dashboard → Chats → Widget.
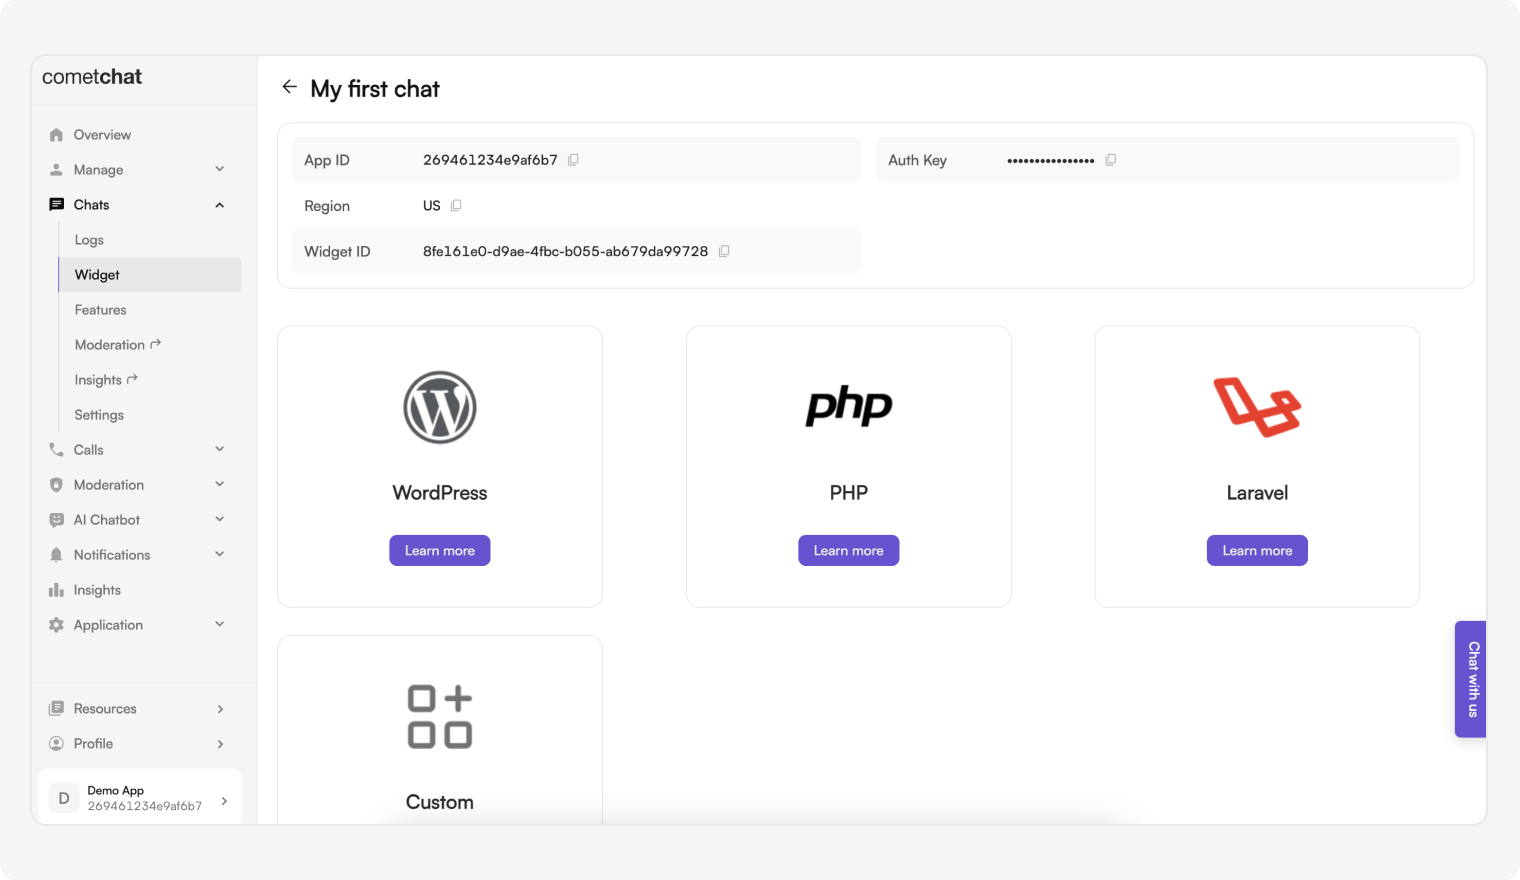
- In WordPress go to Settings → CometChat Pro, then set:
App IDRegionREST API KeyAuth Key
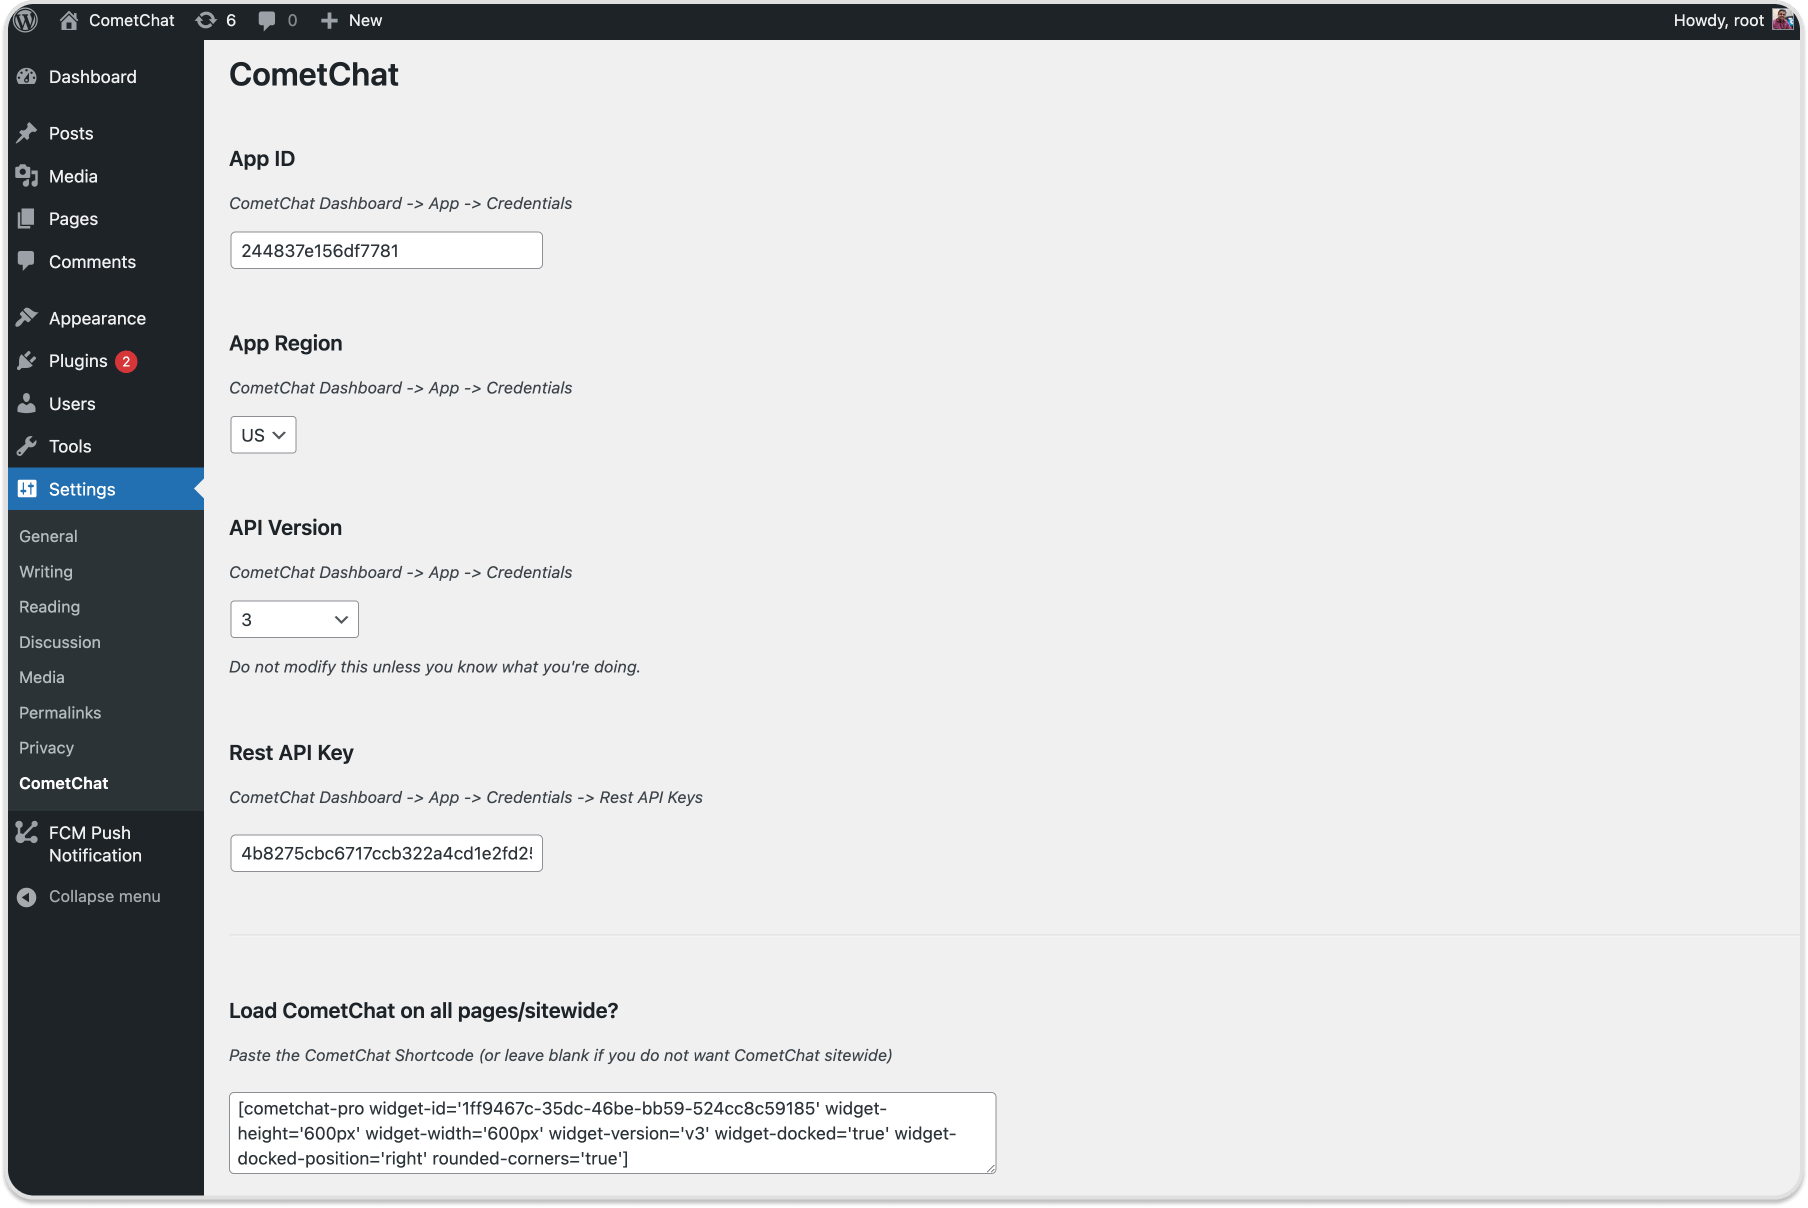
- Click Update Settings. The logged-in WordPress user will be registered in CometChat.
- Choose layout:
- Embedded Layout
- Docked Layout
Embedded Layout
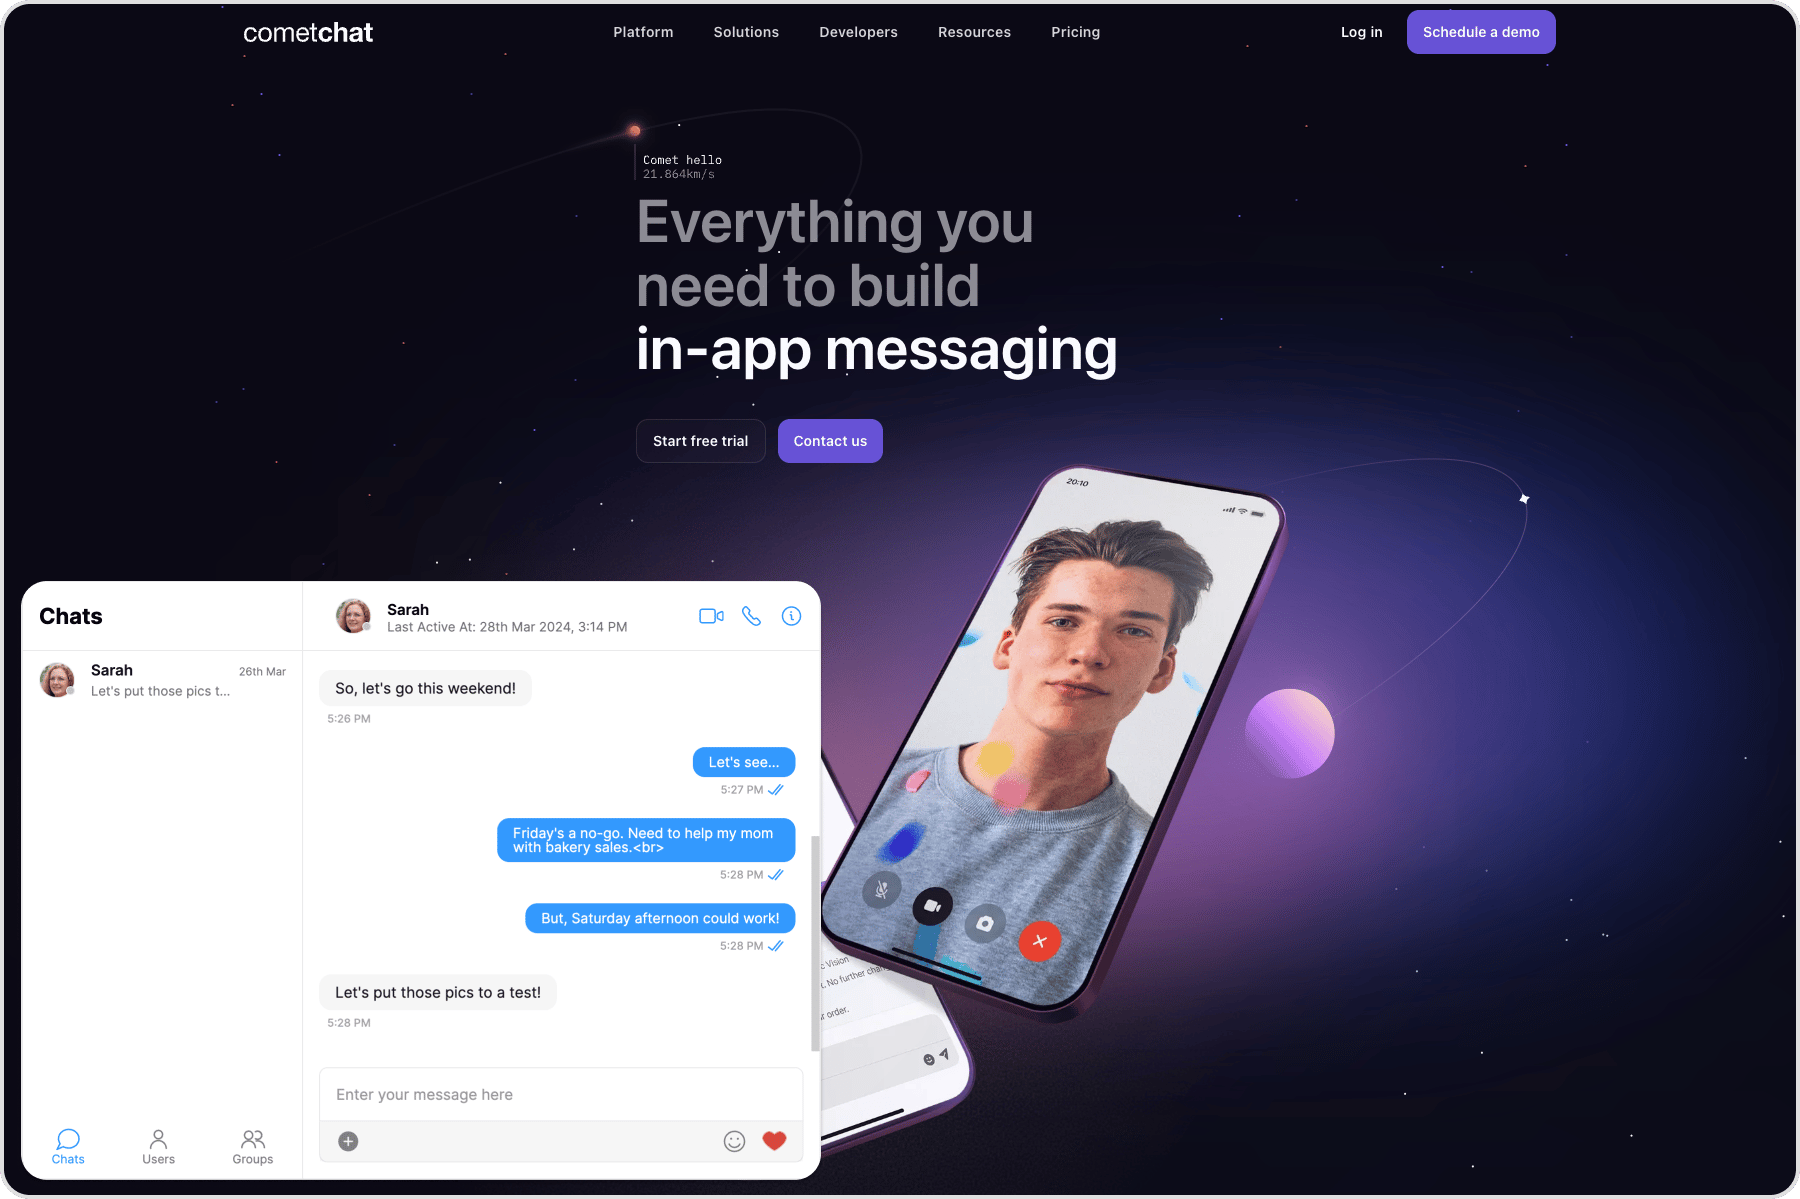
- WordPress
Optional parameters:
Docked Layout
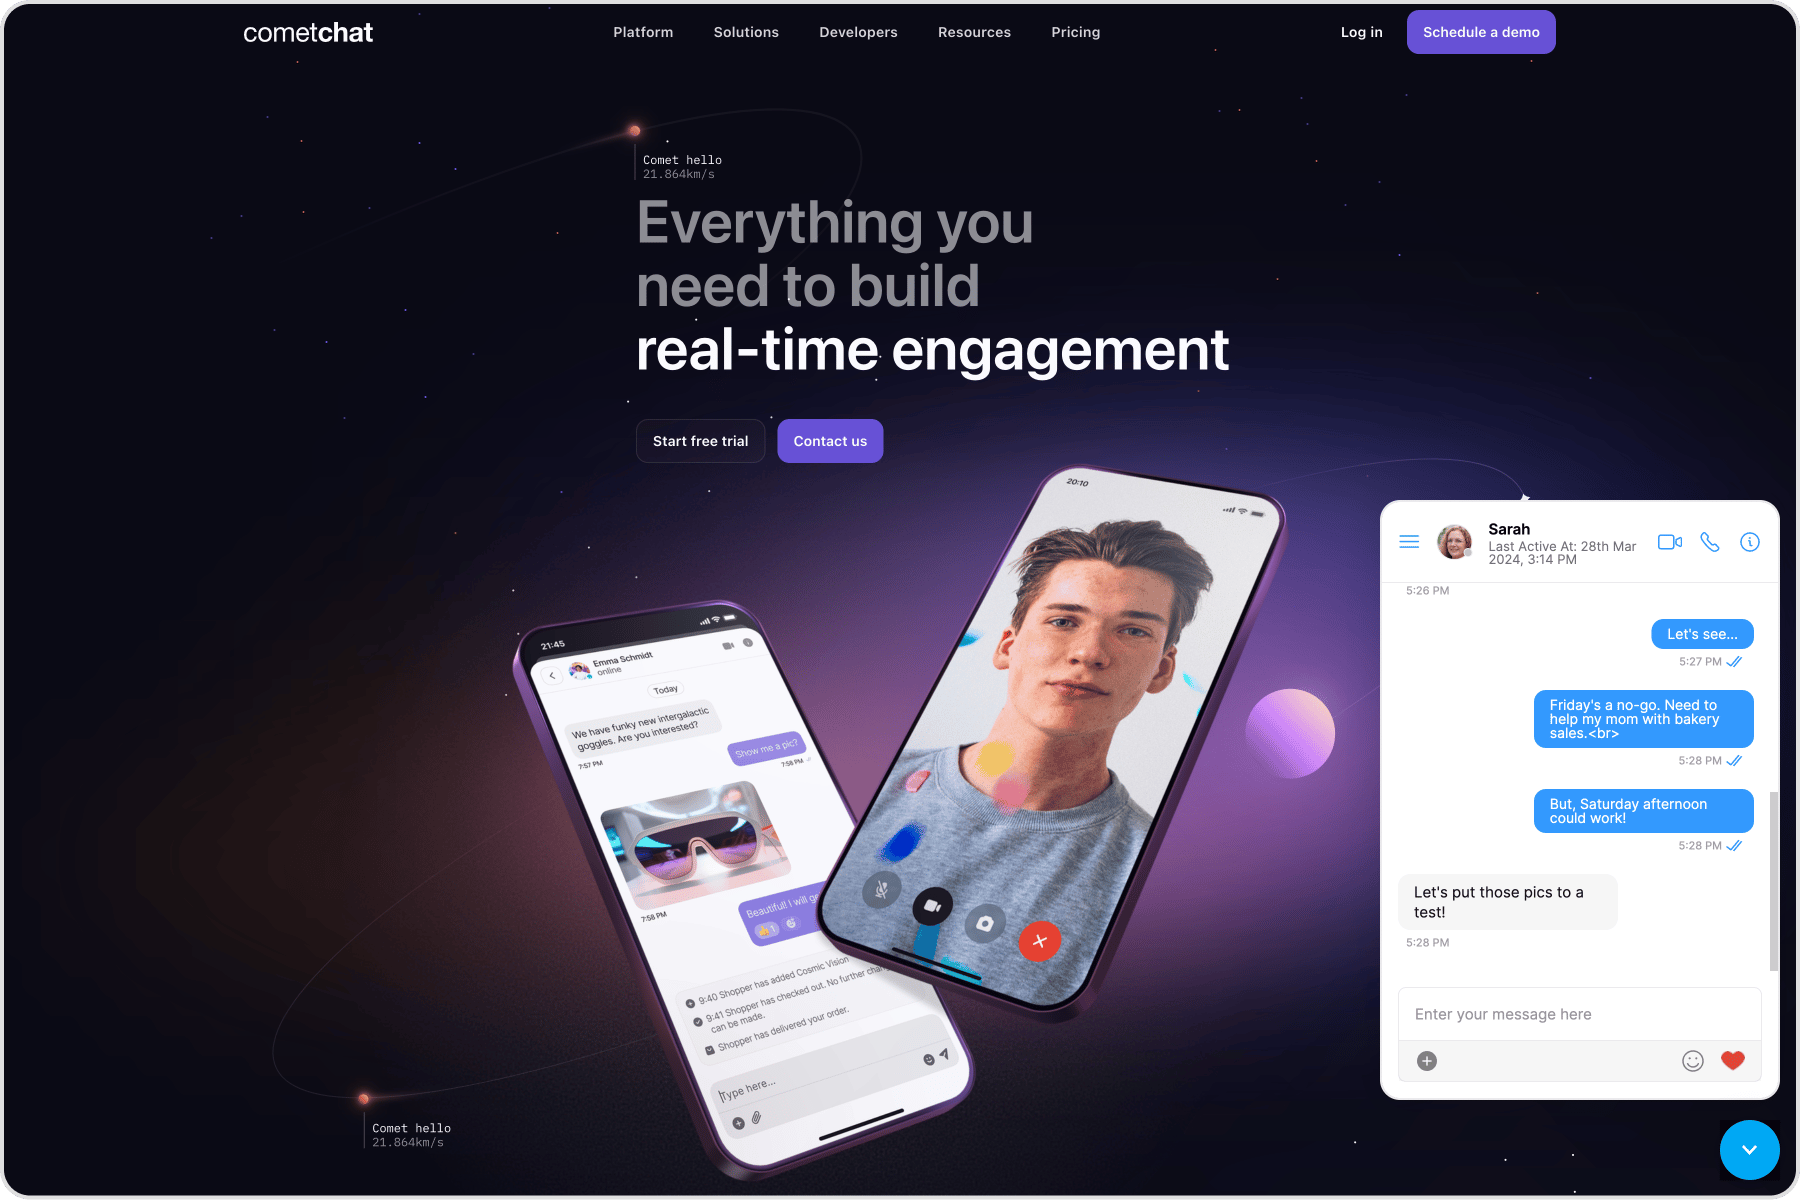
- WordPress
Optional parameters are the same as embedded layout (default-username, default-id, default-type, rounded-corners).
Show docked layout on all pages
- Go to Settings → CometChat Pro in WordPress.
- Paste the docked shortcode under Load CometChat Pro on all pages/sitewide? to show it everywhere.